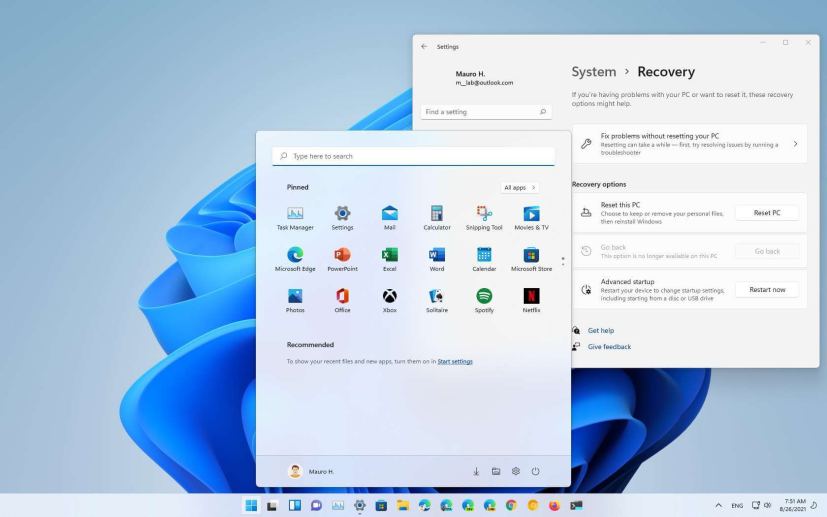
- To remove Windows 11 if it doesn’t start, open Advanced startup > Troubleshoot > Advanced options > Uninstall Updates > Uninstall latest feature update.
- Then click the Uninstall feature update button to roll back to Windows 10.
If after you upgrade to Windows 11 from Windows 10, the laptop or desktop computer no longer starts due to problems, you can uninstall and roll back to the previous version using the Advanced startup available through the Windows Recovery Environment (Windows RE). However, there is one caveat, Windows 11 (version 21H2) only gives you ten days to uninstall the new version. After ten days, the only way to undo the upgrade is by clean installing the previous version.
In this guide, you will learn the steps to uninstall Windows 11 through the Advanced startup settings when your device does not start correctly. If you still have access to the desktop, you can downgrade using these steps.
Uninstall Windows 11 when computer won’t start
If you upgraded to Windows 11 21H2, and now, the laptop or desktop computer won’t boot or start correctly, you can use the Advanced options environment to roll back to the previous version.
To uninstall Windows 11 when the computer doesn’t start, use these steps:
-
Press the power button.
-
Immediately after the Power-On Self-Test (POST), and you see the blue Windows logo, press the power button again to shut down.
-
Repeat steps No. 1 and No. 2 twice. Windows 11 should enter into the Windows Recovery Environment (Windows RE) in the third restart.
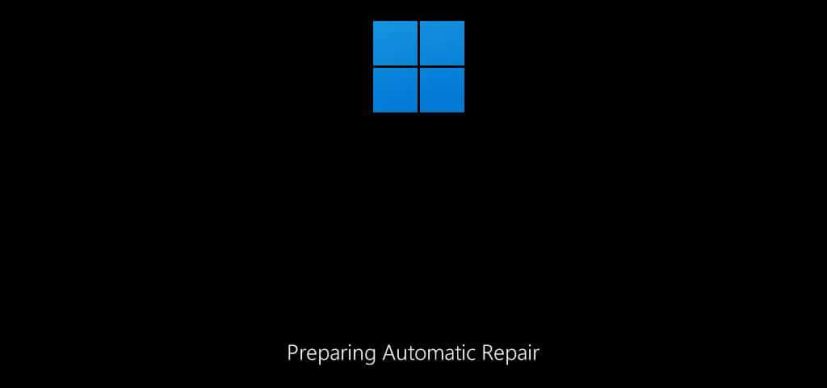
-
Click the Advanced options button.

-
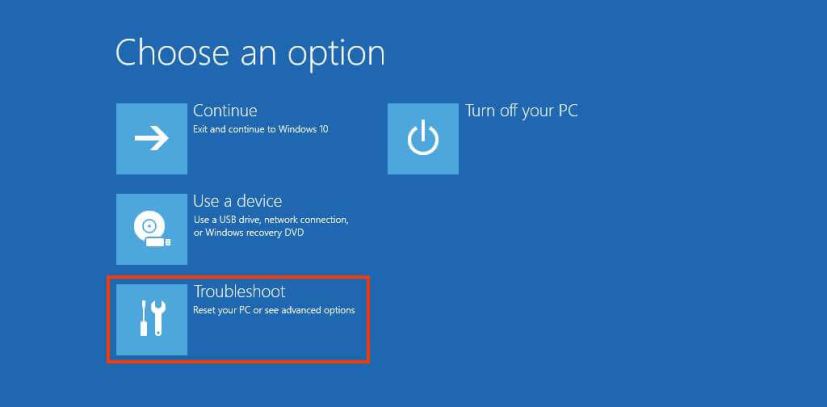
Click on Troubleshoot.
-
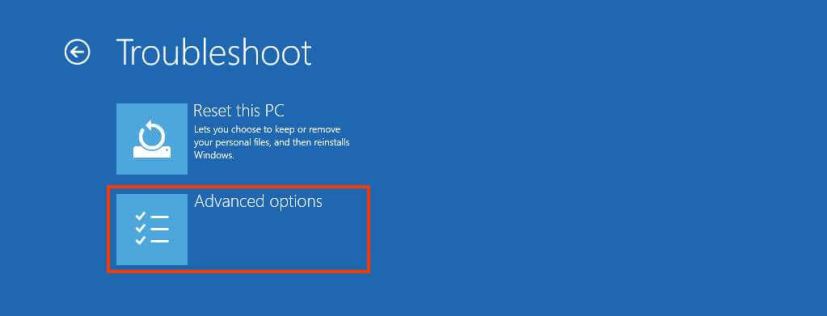
Click on Advanced options.
-
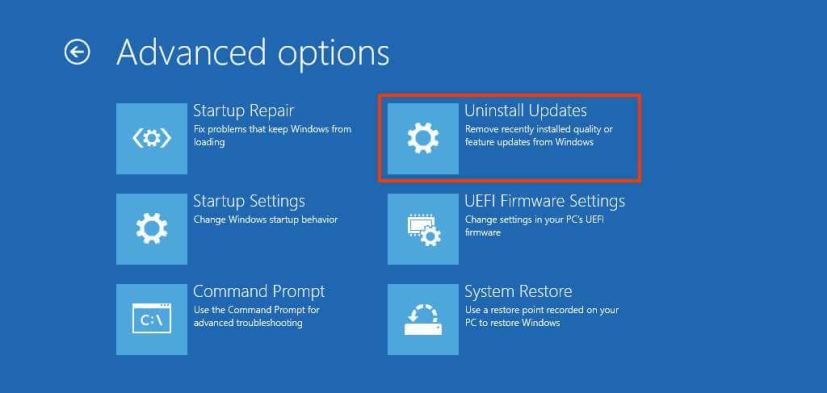
Click on Uninstall Updates.
-
Click the Uninstall latest feature update option.

-
Sign in using your administrator credentials (if applicable).
-
Click the Uninstall feature update button to remove Windows 11.

Once you complete the steps, the system will uninstall Windows 11 from the computer, and it will roll back to your previous installation in a process that should not take more than 10 minutes.
