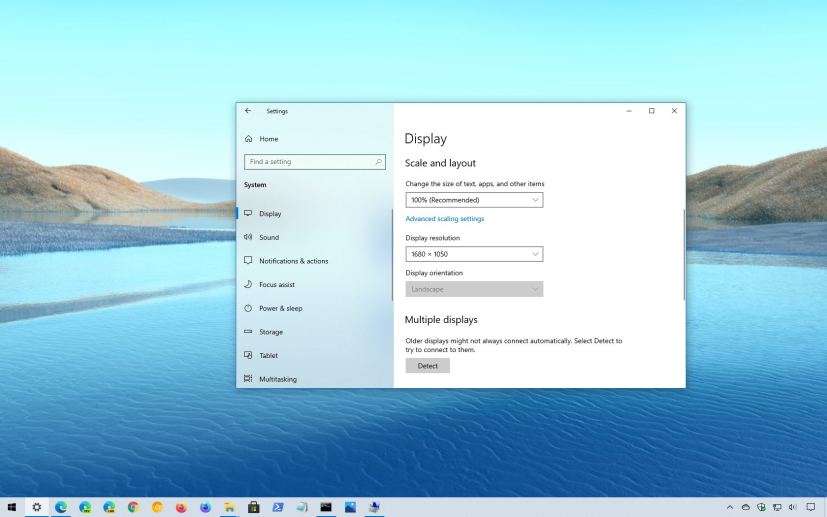
Although Windows 10 does a pretty good job setting the optional display settings, sometimes you may need to change them manually to adjust the screen to your specific requirements. For example, if you have a high-DPI display, it might be necessary to change the scaling settings to make text, apps, and other items bigger for better readability.
The screen resolution defines the clarity of the images and text rendered on a monitor. If you’re using a low resolution (such as 1024 x 800-pixels) on a higher resolution display, you may need to adjust the setting to make the items smaller and sharper, and to create more space on the screen. Also, even though we tend to use monitors horizontally, sometimes, you may need to change the orientation to display content vertically.
Whatever your requirements might be, the Settings app on Windows 10 includes the options you need to quickly adjust the scale, resolution, and orientation of your display.
In this guide, you’ll learn how to change the scale and layout settings on Windows 10.
- Change display scale on Windows 10
- Change display resolution on Windows 10
- Change display orientation on Windows 10
Change display scale on Windows 10
To change the screen scale settings, use these steps:
-
Open Settings on Windows 10.
-
Click on System.
-
Click on Display.
-
Under the “Rearrange your displays” section, select the display you want to adjust (if applicable).
-
Under the “Scale and layout” section, use the Change the size of text, apps, and other items drop-down menu and select the appropriate scale value. For example, 175%, 150%, 125%, or 100%.
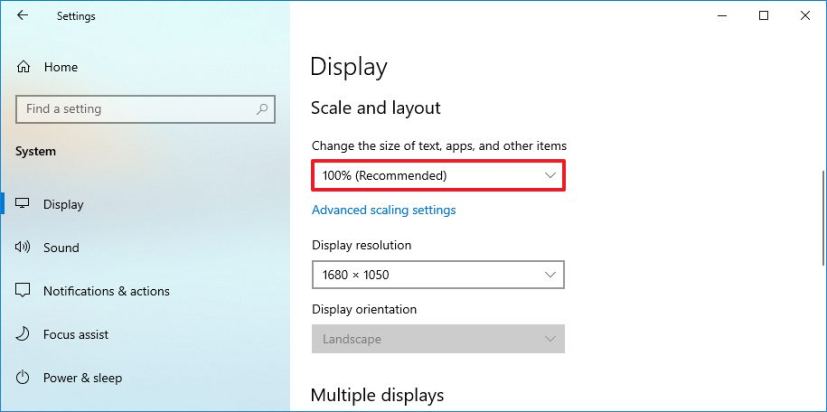
Windows 10 scale settings Quick note: The options available will depend on the display you have. -
Sign out.
-
Sign back in.
Change scale to a custom value
If the default options don’t work for your display, Windows 10 provides a setting to specify a custom scaling value. However, if the display doesn’t support the size you choose, text, apps, and other items may look unreadable, making it difficult to revert the changes.
To use a custom scale setting, use these steps:
-
Open Settings.
-
Click on System.
-
Click on Display.
-
Under the “Rearrange your displays” section, select the display you want to adjust (if applicable).
-
Under the “Scale and layout” section, click the Advanced scaling settings option to specify a custom scale value.
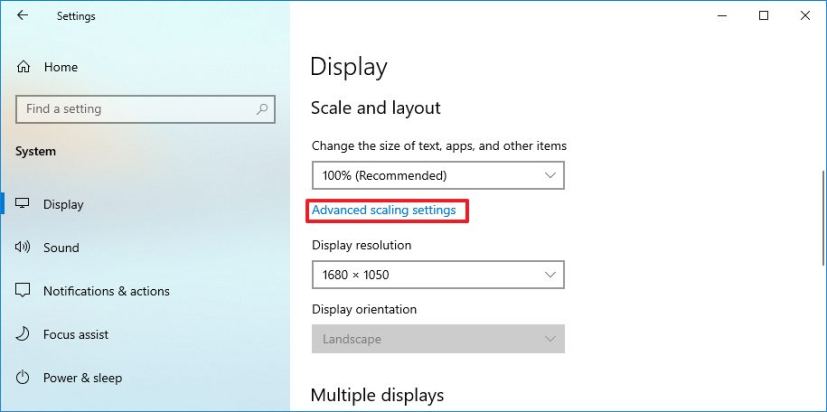
Advanced scale settings -
Under the “Custom scaling” section, confirm a value between 100 to 500 percent.
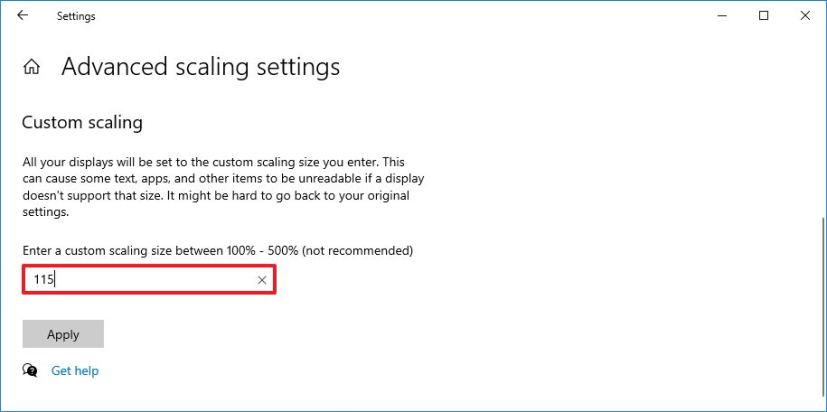
Custom scale option -
Click the Apply button.
-
Sign out.
-
Sign back in.
Fix scaling for apps
When adjusting the scaling, some legacy apps may look blurry. Windows 10 includes an option to fix this problem when you reopen the apps. The feature works for most apps, but not for all.
To fix blurry apps when changing the scaling settings, use these steps:
-
Open Settings.
-
Click on System.
-
Click on Display.
-
Under the “Scale and layout” section, click the Advanced scaling settings option to specify a custom scale value.
Advanced scale settings -
Turn on the Let Windows try to fix apps so they’re not blurry toggle switch.
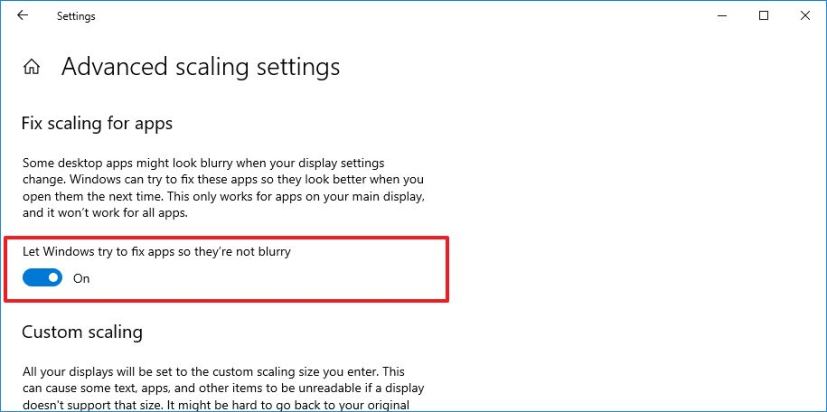
Blurry app fix option
Once you complete the steps, the display will now use the scaling setting you specified. If items on the screen look too small or too big, you may need to adjust the value until you find a setting that is more comfortable for you.
Change display resolution on Windows 10
To change the display resolution, use these steps:
-
Open Settings.
-
Click on System.
-
Click on Display.
-
Under the “Rearrange your displays” section, select the display you want to adjust (if applicable).
-
Under the “Scale and layout” section, use the Display resolution drop-down menu and select another resolution.

Windows 10 change resolution Quick note: Usually, you want to use the resolution that has the “Recommend” label. Also, if you’re looking to make text and items bigger on the screen, you should be using the scale settings, not the resolution option.
After you complete the steps, the screen will change to the resolution you specified. You can also change the screen resolution using command lines, and here’s how to complete the task.
Change display orientation on Windows 10
To rotate the screen on Windows 10, use these steps:
-
Open Settings.
-
Click on System.
-
Click on Display.
-
Under the “Rearrange your displays” section, select the display you want to adjust (if applicable).
-
Under the “Scale and layout” section, use the Display orientation drop-down menu and select the desired orientation. Options include, Landscape, Portrait, Landscape (flipped), and Portrait (flipped).
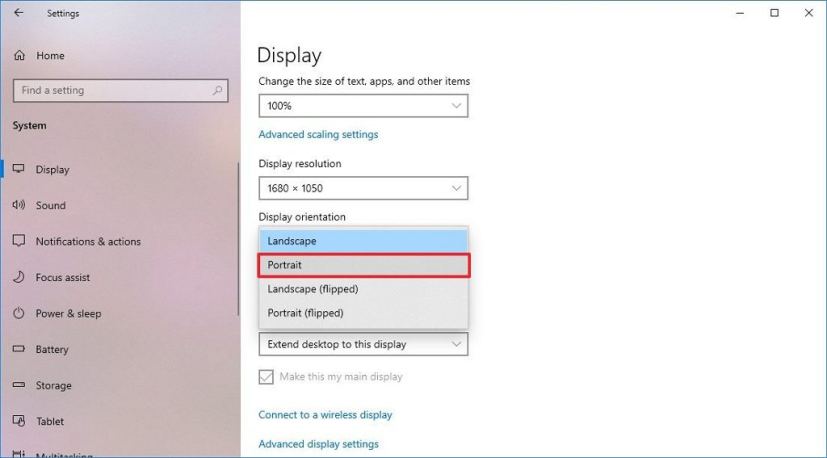
Windows 10 change orientation
Once you complete the steps, the screen will rotate to the orientation you specified.
Mauro Huculak is a Windows expert and the Editor-in-Chief who started Pureinfotech in 2010 as an independent online publication. He is also been a Windows Central contributor for nearly a decade. Mauro has over 12 years of experience writing comprehensive guides and creating professional videos about Windows, software, and related technologies, including Android and Linux. Before becoming a technology writer, he was an IT administrator for seven years. In total, Mauro has over 20 years of combined experience in technology. Throughout his career, he achieved different professional certifications from Microsoft (MSCA), Cisco (CCNP), VMware (VCP), and CompTIA (A+ and Network+), and he has been recognized as a Microsoft MVP for many years. You can follow him on X (Twitter), YouTube, LinkedIn and About.me.