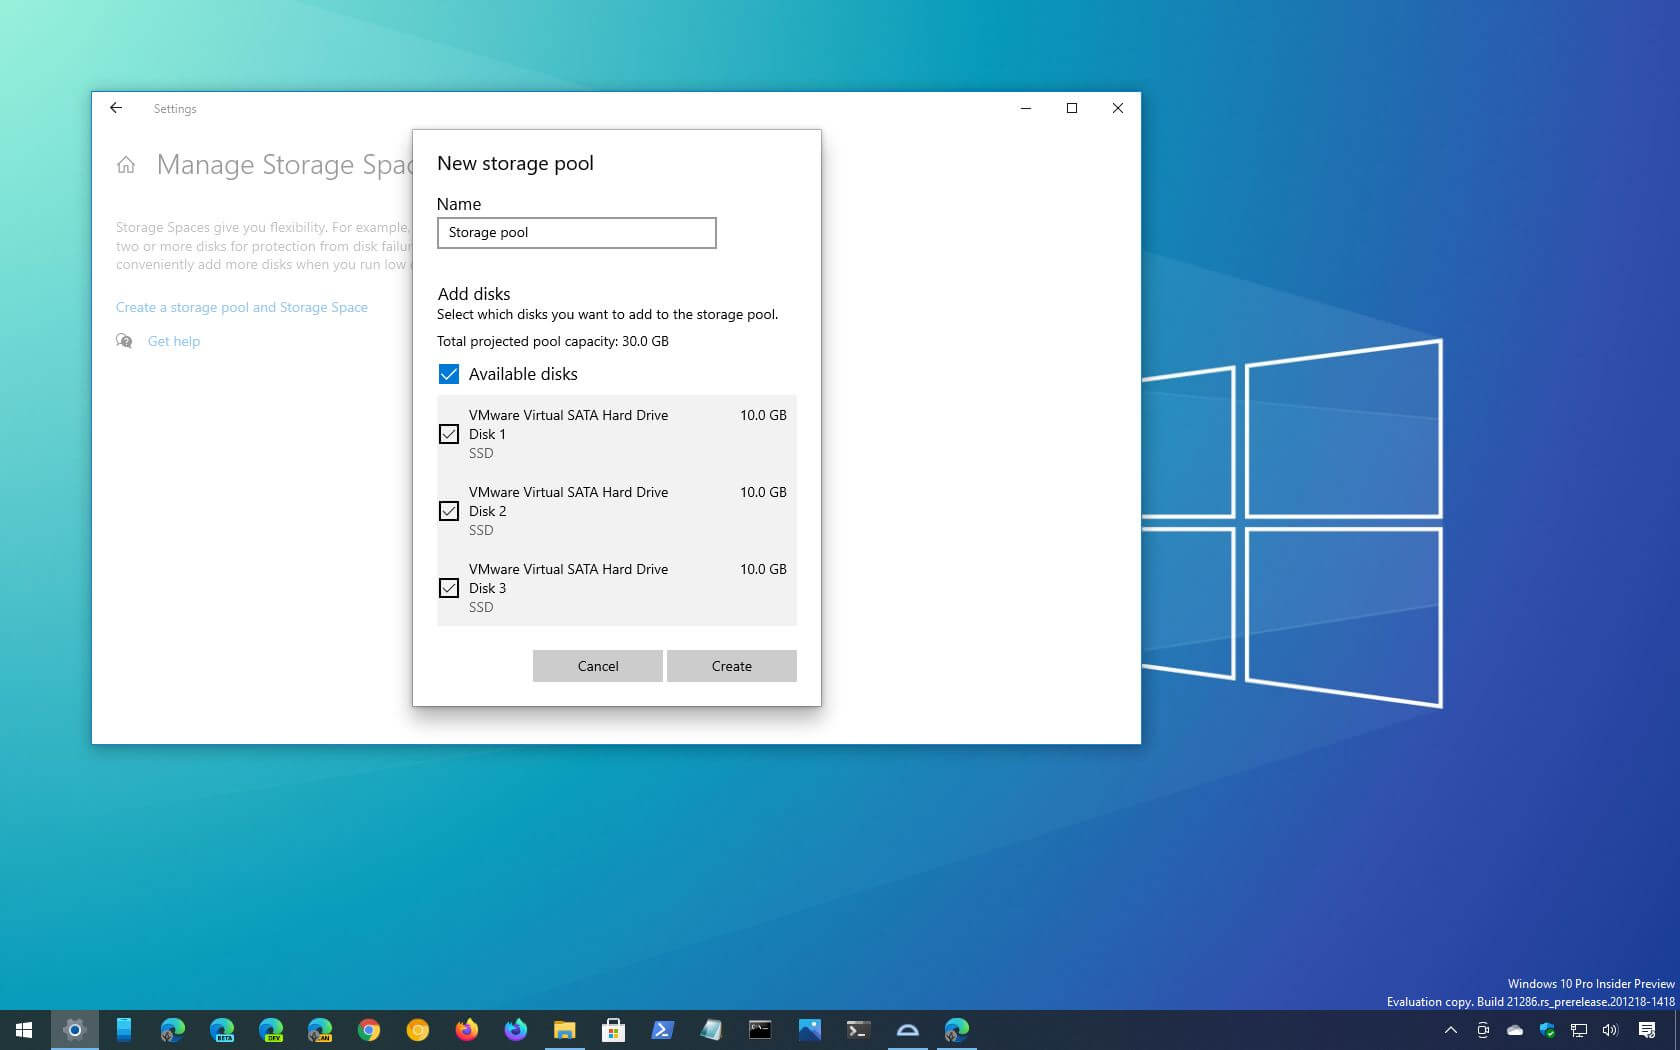
On Windows 10, the Settings app now includes a new experience to create and manage Storage Spaces. Although the storage feature has been available for a long time, it was only available through the Control Panel (and PowerShell). Starting with build 21286, Microsoft is building a modernized version of the experience inside the Settings app.
Storage Spaces is a feature designed to protect your files from hardware failure and help you to extend the storage capacity by simply adding more drives to your device. Using this feature, you can combine two or more drives together into a pool and then carb virtual drives (storage spaces). On Windows 10, Storage Spaces supports many RAID-like features, including “simple space” to increase storage performance, but do not protect your files against hardware failure (requires two drives minimum).
Then there is “mirror space,” which requires two drives and offers protection against failures since the data is copied in multiple drives. There is even a three-way mirror, but it requires five drives.
Finally, Storage Spaces also allows you to create a “parity space,” which requires at least three drives, and it provides storage efficiency and protection against failures by copying data in multiple places. For two drives failure, you need at least seven drives.
Manage Storage Spaces in Settings
The new integration is similar to the one available in Control Panel, and it allows you to create and manage pools and spaces. You can find the experience under Settings > System > Storage and clicking the Manage Storage Spaces option.
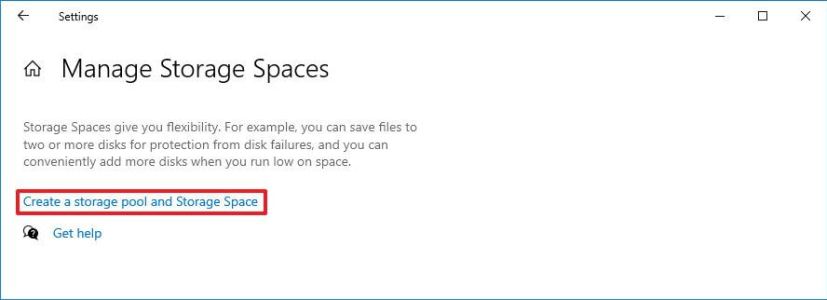
Inside the page, you can get started by clicking the Create a storage pool and Storage Space option.
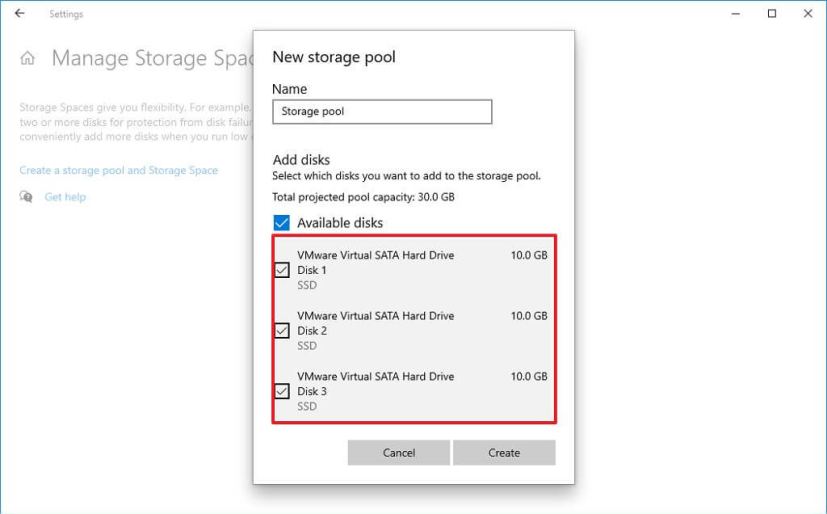
Then confirm a name, select the drives you want to include in the storage pool, and click the Create button.
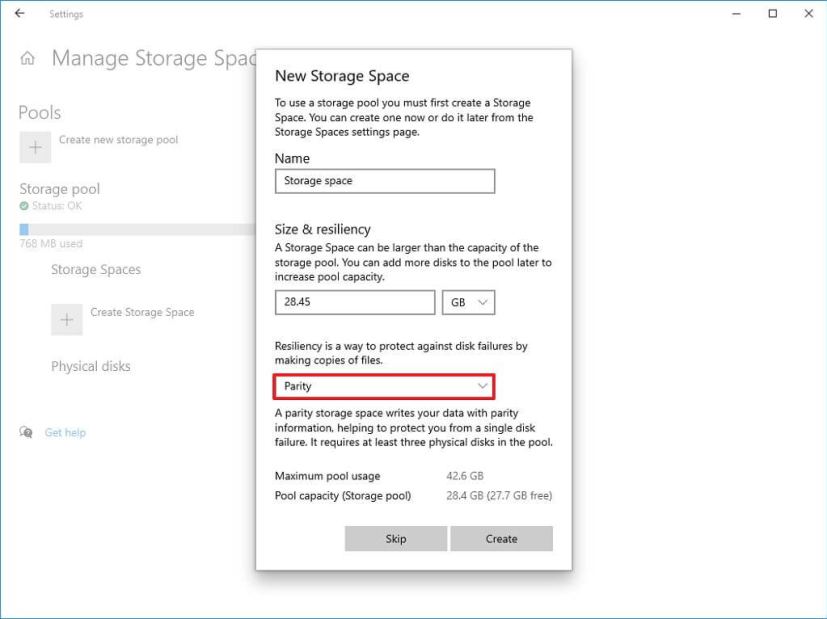
Once the pool is created, you need to create the space, which the new experience makes it super easy. First, you need to specify a name for space. Second, you need to confirm the capacity. And third, you must select the level of protection, including simple, two-way mirror, three-way mirror, parity, and dual parity. If you do not know which option to choose, as you select the experience will offer a description. Then simply click the Create button.
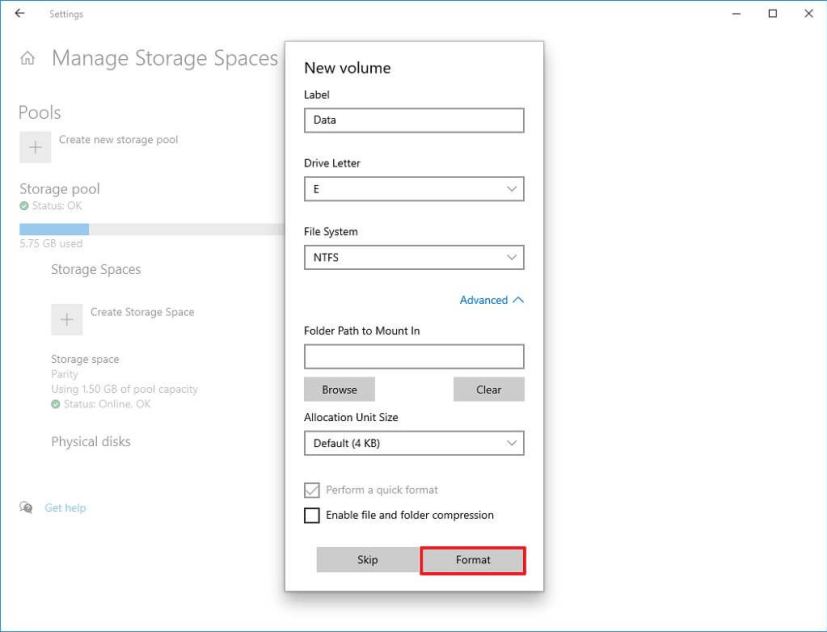
The last step is to specify a label, letter, and file system for the virtual drive, and the click the Format button the new space. There is also an Advanced option that allows to mount the drive as folder, select the allocation unit size, and enable compression, but these settings are optional.
After the storage is configured, depending on the protection level the available space may be less than the physical storage available.
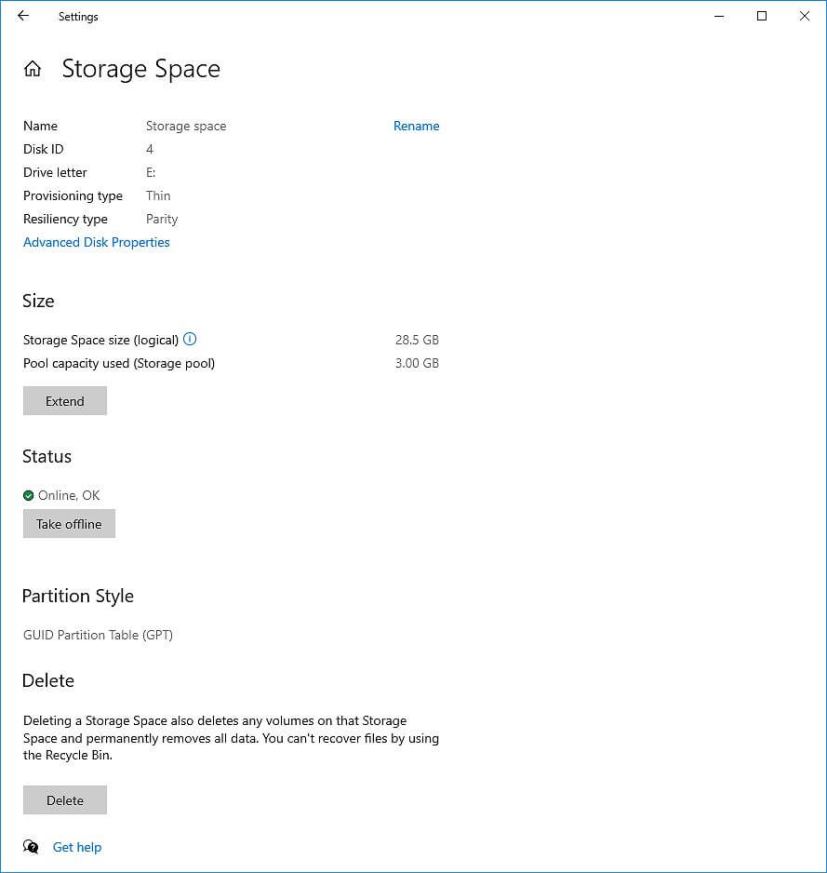
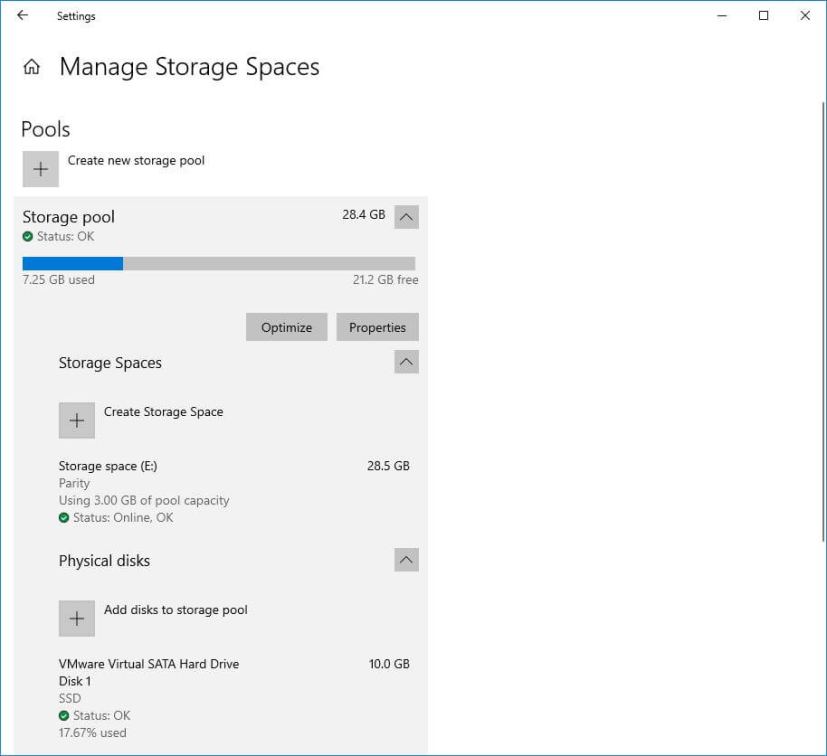
While in the page, you will now see a list of the available pools with their respective spaces. You can always create new pool and additional storages by adding more drives. You can select each space and inside the Properties page, you will see details about the storage, and that is where you will find the options to extend the storage, take offline, or delete the space.
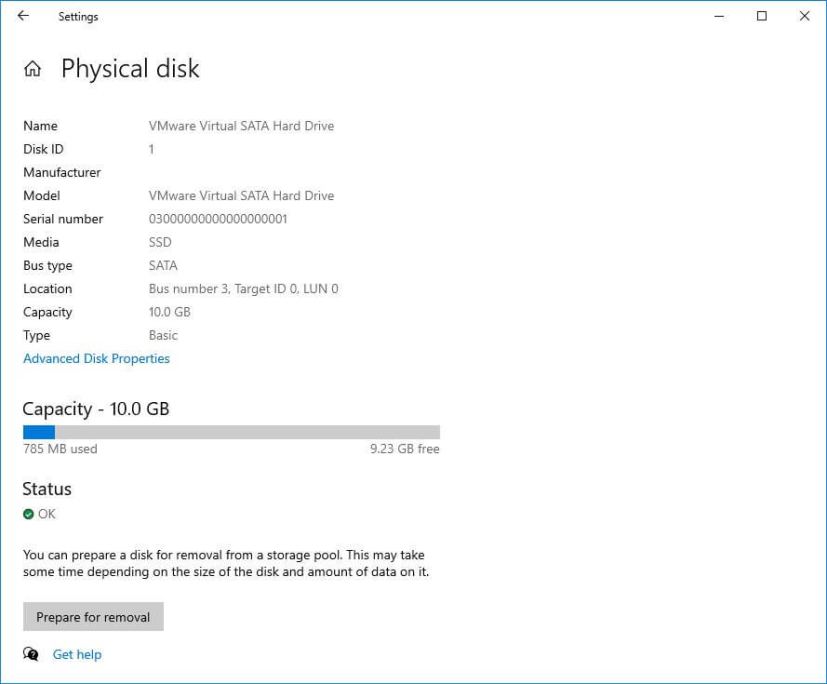
Expanding the physical disks section will list all the drives in the pool. Selecting each one and accessing the Properties page, you will get more details about the drive, such as name, disk ID, manufacturer, model, serial number, and status. Also, this page includes the option to remove the drive from the pool. (Only when you remove all the drives, the pool will be deleted. Also, the option to remove a drive will only become available after deleting the space.)
If you select the storage pool, two options will become available, including “Optimize” and “Properties.” Optimize is useful when adding a new drive to move data around to make the best use of the space. The Properties page shows details about the pool and there are options to rename and optimize the pool.
The new settings to create and manage Storage Spaces is available starting with build 21286 for testers with devices enrolled in the Dev Channel, but it is not clear when it will roll out to everyone. Alongside the Storage Spaces settings, Microsoft is also bringing the Disk Management tools to Settings app, and the experience is also available for testers.

